Fit First, Weld Last: The 2026 UK Exhaust Buying Workflow That Starts With a Caliper
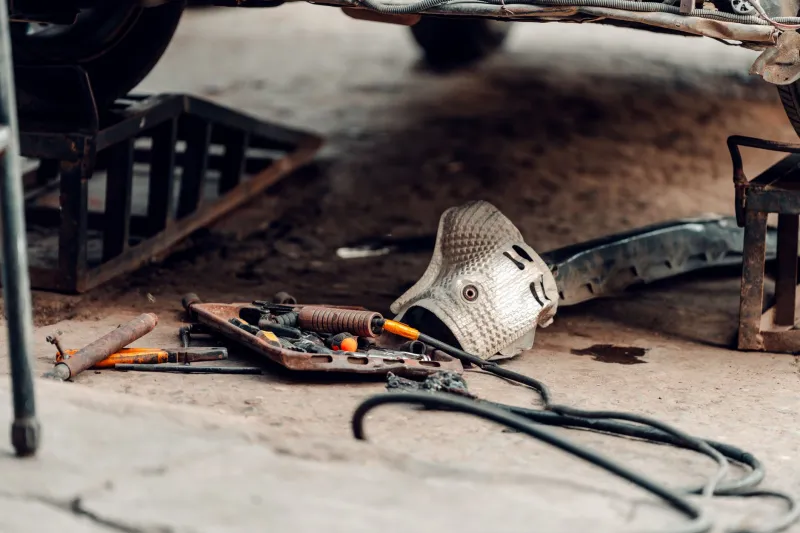
There is a particular smell that hangs around a driveway exhaust job: old rust, new gaskets and the faint whiff of regret. It usually arrives just after the new back box has been offered up and found to sit two inches too low, with a flange that points the wrong way and a hanger rod that lines up with absolutely nothing. The listing said 'direct fit'. The car disagrees.
UK exhaust systems are a classic compatibility trap. Even within the same model year, engine codes, trim levels, emissions equipment and mid-cycle revisions can change pipe diameters, flange angles, hanger positions and sensor bosses. The result is a cheap-looking part that turns into an expensive afternoon of cutting, welding and improvisation. This guide is about avoiding that — with a caliper, a notebook and a supplier conversation before you hit buy.
Start with the engine code, not the registration
A reg check is a useful first filter, but it is not a parts number. Two cars can share a plate-year and model badge while running different exhaust layouts. Use the engine code from the VIN plate, logbook or underbonnet sticker, and note the emissions standard where relevant. A Euro 5 car and a Euro 6 car of the same model may look similar underneath but use different sensor arrangements and catalyst or DPF hardware.
Before you search, write down the OEM part number for the section you need if you can find it. Then cross-reference it against the pattern part listing. A good motor factor will do this for you; a marketplace listing may not. If the seller cannot tell you which OEM numbers their part replaces, treat that as a warning, not a challenge.
The five measurements that separate fit from fantasy
A tape measure is fine for overall length, but a cheap digital caliper earns its keep here. Take these five measurements before buying any centre section, back box, clamp or gasket.
1. Pipe outside diameter at the joint
Measure the outside diameter of the pipe where it meets the next section, not the bore. Sleeve joints, slip joints and flange joints all rely on that OD matching the clamp or gasket. A millimetre or two of difference is enough to cause a blow or a clamp that will not seal. Measure in two places at 90 degrees because old pipes are rarely perfectly round.
2. Flange angle and bolt spacing
If the joint is flanged, check the bolt spacing centre-to-centre, the number of bolts and whether the holes are slotted or round. More importantly, note the angle of the flange face relative to the pipe. A flange can look correct on a photo but sit at a different clocking, which means the pipe will hang wrong or foul the body. Take a photo with a straight edge or angle finder if you can.
3. Hanger rod position and rubber type
Hanger rods are the quiet killers of 'direct fit' claims. Measure the rod diameter, the distance from the pipe to the end of the rod, and the orientation. Check the rubber mount type and size too — a generic bobbin is not the same as a shaped mount with a specific offset. If the new section's hanger is even 20mm out, the system will sit twisted and stress the joints.
4. Sensor boss thread and angle
Lambda sensors, pressure sensors and temperature sensors all need their bosses in the right place. An M18 x 1.5 thread is common for lambda bosses, but do not assume. Check the thread pitch, the depth and the angle of the boss. A boss that points at the floor or the fuel tank can make the sensor impossible to fit or prone to damage. On emissions-related sections, the boss position can also affect how the sensor reads, which is a fast route to an engine light and an MOT fail.
5. Overall length and bend clocking
Measure the straight-line distance between joint centres and note how the bends are clocked relative to each other. A pipe can have the right length but the wrong bend orientation, which is how you end up with a section that touches the rear axle or points at the bumper. Photos from the seller are helpful, but your own photo with a ruler in frame is better.
Clamps, gaskets and joint types
Exhaust clamps are not interchangeable. A U-bolt clamp crushes the pipe to seal; a sleeve clamp relies on a precise fit and often a sealant; a V-band clamp uses a matched flange pair. If you mix types, you usually get a leak. Buy the clamp style the system was designed for, and do not reuse old clamps that have already been crushed into a different shape.
Gaskets are one-shot parts. A ring gasket, a graphite gasket, a multi-layer steel gasket and a fire-ring gasket all do different jobs. Reusing a crushed gasket or smearing exhaust paste over a corroded flange is a short-term bodge, not a repair. Paste has its place on slip joints, but it will not fix a warped flange or a missing gasket.
Corrosion, steel grade and the false economy
UK roads are hard on exhausts. Short trips, road salt and damp weather mean a cheap aluminised steel section can look fine for a year and then rot from the inside out. Check the wall thickness and the weld quality if you can. Stainless steel is not automatically better — grade and thickness matter — but a suspiciously cheap pattern part often uses thinner material and fewer corrosion protections.
This is especially important around emissions hardware. Catalytic converters and DPFs are not just pipes with fancy innards. A cheap universal cat may fit physically but fail the MOT emissions test or trigger a fault code because its efficiency is below the threshold. Type approval and correct sensor placement matter. If the section includes a cat or DPF, check that the part is legal for your vehicle and that the seller provides the right paperwork. A saved £80 on the part can become a failed MOT and a much bigger bill.
The buying workflow that saves the afternoon
Get the car safely on ramps or stands, chock the wheels and let the exhaust cool completely. Spray the joint bolts and hanger rubbers with penetrating fluid the night before if you can. Then work through this order:
- Photograph the existing joint from three angles with a ruler or caliper in shot.
- Measure the five points above and write them down.
- Note the OEM number and any visible manufacturer markings on the old section.
- Check the seller's listing against your measurements, not just the vehicle model.
- Ask the supplier to confirm the part replaces your OEM number and fits your engine code.
- Check the returns policy before ordering, especially for special-order exhaust sections.
- Dry-fit the new part before cutting anything off the old system. If it does not line up, stop and talk to the supplier.
That last point is the one most people skip. It is tempting to cut first and ask questions later, but once the old section is off, you have lost your reference. A dry fit with clamps loose and hangers in place will tell you more than any photo on a listing.
Installation pointers for a leak-free finish
Clean the mating faces, fit new gaskets and clamps, and tighten in the correct sequence. Do not overtighten U-bolt clamps to the point where they crush the pipe — that creates a leak path and makes future removal a nightmare. Check clearance to fuel lines, brake pipes, the fuel tank and the rear bumper. Start the engine, let it reach temperature, then recheck the clamps and hangers after a few heat cycles. A blow you can hear at idle will only get worse on the motorway.
'Direct fit' is a marketing phrase, not an engineering standard. The caliper, the notebook and a supplier who knows their catalogue are what turn a risky purchase into a straightforward Saturday job. Measure first, buy once, and leave the angle grinder in the toolbox.