Wet Footwell? Buy Door and Boot Seals by Section, Not by Snapshot
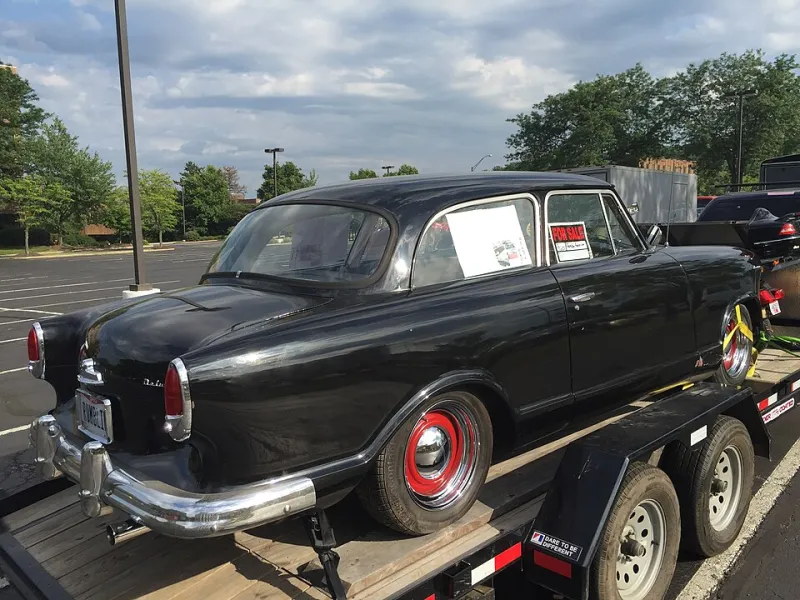
Photo: CZmarlin — Christopher Ziemnowicz — a photo credit is required if this image is used anywhere other than Wikipedia., CC BY-SA 4.0, via Wikimedia Commons
November rain has a way of finding the one tired bit of rubber you have never looked at. You lift the mat, find a damp patch, and the search bar already says door seal. Hold that thought. A new weatherstrip bought from a photo, or a metre of universal roll, can leave you with the same wet carpet and a lighter wallet. The smart move is to treat water ingress as a measuring and tracing job first, and a parts order second.
Start with the water, not the rubber
Dry the area properly, then use a gentle hose on low flow while someone sits inside with a torch and a roll of tissue. Work from the bottom up. Water at the door sill can enter at the bottom seal, but it can also run down the inside of the door card, past the belt moulding, or arrive from a blocked sunroof drain or scuttle. On a hatch or estate, the boot floor and spare-wheel well are the places to watch, not just the tailgate opening.
Chalk or talc can help. Dust a light line around the seal contact area, close the door or boot gently, then look for breaks in the transfer pattern. A contact gap is useful evidence. A wet seal on its own is not. Water can sit on a perfectly healthy strip after it has come in somewhere else.
Measure the section like a gasket nerd
Weatherstrips are not sold by length alone. The section matters. Use a cheap digital caliper or a vernier and note the overall height and width, the bulb diameter, the length of the mounting leg, the channel width and the wall thickness. Is the bulb hollow or sponge? Is it a single bulb or double? Is the rubber flocked? Does it have a sealing lip, a locating fin or a metal carrier?
Draw the cross-section on paper and write the measurements next to it. A photo with a ruler in frame is handy for your own records, but do not treat it as a buying spec. A millimetre or two of difference in the channel can mean the strip will not seat, or will seat but not touch the door. Check for a moulded corner, too. Straight universal strip is fine for simple runs; it is useless for a shaped tailgate corner unless you enjoy chasing leaks.
Clips, channels and belt mouldings
Look at how the original is held on. Some seals push onto a flange, some clip into plastic retainers, some use fir-tree pins, and some are bedded with butyl. Count the clips and note their spacing. Missing or brittle clips can hold a new seal away from the body, which looks like a bad seal but is really a bad fixing kit.
The outer belt moulding, the strip along the bottom of the window, deserves a close look. It scrapes the glass and sheds water, and when its clips or felt fail it can send water inside the door. That water often exits at the bottom of the door card or the sill, which makes the door seal look guilty. Check door bottom drain slots as well. If they are blocked with leaves, wax or underseal, water will find a way past the strip.
Drains are cheaper than seals
Before ordering anything, clear and test the drains. Sunroof cassette drains, scuttle drains, air-con condensate drains and boot vent flaps all cause footwell or boot water that gets blamed on weatherstrips. A blocked sunroof drain can send water down an A-pillar and into the front footwell. A scuttle drain that is full of leaves can overflow into the pollen filter area. Clear them with trim wire or low-pressure air, not a blunt force approach that pops a hose off behind the dashboard.
Also check the colour and smell of the water. Coolant with a sweet smell points to a heater matrix, not a door seal. Clear water after rain points to the body. Screenwash smell points to a bottle or grommet. This is basic diagnosis, but it saves a lot of pointless rubber buying.
What a tired seal actually looks like
A genuinely worn seal is usually flattened, hard, cracked at the flex points, or shrunken at the corners. Sponge sections can crumble. The lip can tear. You may see rust staining where water has been sitting. But a soft, wet seal is not automatically scrap. Check door alignment too. A sagging hinge or a striker that is out of adjustment can hold the door slightly proud, so the seal never gets a proper squeeze. Boot lids have bump stops and catches for the same reason.
Buying the right strip in 2026
Use your registration or VIN as a starting point, then verify the actual profile against the old part. Main dealer parts desks are not cheap, but they can identify the correct strip and clip kit. Quality aftermarket suppliers can be fine if they list the section and fixings clearly. Used seals from a breaker can work if the rubber is still soft and the car is a genuine match, but inspect before buying. Avoid any listing that shows only a generic photo and says universal fit.
If the seal uses butyl or a specific adhesive, buy the right one. Do not bodge a shaped seal with silicone and hope. And do not spray silicone on a tired seal as a long-term fix; it may quiet a squeak for a week but it will not restore the profile.
Fitting without creating a new leak
Fit in a warm garage if you can. Cold rubber is stiff and easy to stretch. Clean the channel, remove old clips and adhesive, and start at the corners. Do not pull the strip tight along the run; let it sit naturally. Keep drain holes clear, seat every clip fully, and test with a gentle hose before the carpets go back. Check that the door still closes with the same feel and that the window and belt moulding are not fouling.
The whole job starts with twenty minutes of tracing and measuring. Do that, and you buy the right section once. Skip it, and you will be buying a second seal, a wet-vac and a lot of regret.